Minecraft is a popular sandbox game that allows players to explore, build, and create their own world. One of the most enjoyable activities in Minecraft is creating your own farm, and if you’re looking for a unique and fun farm to make, consider building a bee farm. Not only will it provide you with honey, but it’s also a great way to support the game’s ecosystem.
In this article, we will provide a detailed guide on how to make bee farm in minecraft.We’ll cover everything from
- How to find bees,
- How to create a safe area,
- How to build a beehive,
- How to harvest honey. Let’s get started.
Step 1: Find Bees
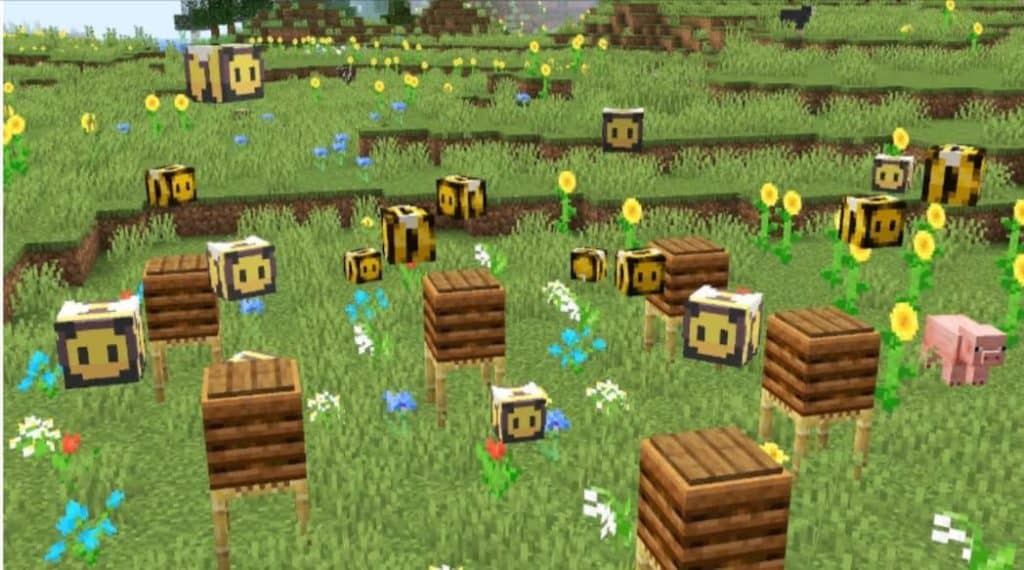
Before you can start your bee farm, you’ll need to find some bees. Bees can be found in flower biomes, plains, and sunflower plains. They are usually found in bee nests or hives, which look like small, brown, beehive-shaped structures hanging from trees or on the ground.
When you find a bee nest or hive, approach it slowly and carefully. If you get too close, the bees will become angry and attack you, so it’s important to be cautious. To collect bees, you can either use a silk touch tool on the bee nest or use a bottle on a bee. The latter method will give you a bottle of honey and also anger the bees.
Step 2: Create a Safe Area
Once you have collected some bees, you need to create a safe area for them. Bees are neutral mobs, so they won’t attack you unless they are provoked. However, they can still fly away if they feel threatened. Therefore, it’s important to create an enclosed area to prevent them from escaping.
To create a safe area, you can use fences or walls made from any material you like. Just make sure that the area is large enough to accommodate the beehive and a few flowers.
Step 3: Build a Beehive
Now that you have a safe area for your bees, it’s time to build a beehive. To do this, you will need six planks and three honeycombs. You can obtain honeycombs by using shears on a beehive that is full of honey.
To build the beehive, place the planks in a 3×3 square and then place the honeycombs in the middle row. The beehive will automatically face the direction you are facing when you place it, so make sure it’s facing the right way.

Step 4: Add Flowers
Bees need flowers to pollinate and produce honey, so you will need to add some flowers to your bee farm. Plant some flowers around the beehive, such as sunflowers, dandelions, or poppies. Bees will fly around the flowers and pollinate them, which will increase honey production.
Step 5: Harvest Honey
Once the beehive is full of honeycombs, you can harvest the honey. Use shears to harvest the honeycombs, which will give you honey and wax. Honey can be used to craft food, potions, and other items in Minecraft, so it’s a valuable resource.
Step 6: Breed Bees
To increase the number of bees in your farm and increase honey production, you can breed bees. To do this, feed bees flowers. When two bees are fed, they will enter love mode and produce a baby bee.
Step 7: Expand Your Farm
You can expand your bee farm by adding more beehives and flowers. Just make sure to keep the area enclosed to prevent the bees from escaping.
creating a bee farm in Minecraft can be a fun and rewarding experience. With the right tools and materials, you can create a thriving bee farm that provides you with honey, wax, and other resources. Remember to always wear a veil to protect yourself from bee stings when working on your bee farm. Happy farming!
How to make automatic honey farm in minecraft – bee farm guide
To create an automatic honey farm in Minecraft, you’ll need a few key ingredients and steps. Here’s a basic guide to help you get started:
Ingredients:
- Beehives: You’ll need multiple beehives to house your bees and collect honey.
- Bees: Obtain some bees either by finding a naturally generated beehive or by using a lead to transport bees from a different location.
- Redstone Components: Redstone dust, redstone repeaters, redstone torches, and comparators will be necessary to automate the farm.
- Pistons: You’ll need sticky pistons to control the collection of honey.
Steps:
- Prepare the Beehives: Set up a platform or structure to hold the beehives. Place the beehives in a row or desired configuration, ensuring there is enough space around them for the bees to move freely.
- Create a Redstone Clock: Build a redstone clock using redstone dust, repeaters, and redstone torches. This clock will periodically activate the farm’s pistons to harvest the honey.
- Connect Pistons to the Beehives: Connect sticky pistons to the beehives using redstone and create a mechanism that, when activated, will push a solid block against the beehives, causing the bees to exit and enter the hive, triggering honey production.
- Collect Honey: Set up a collection system using hoppers to collect the honey drops into chests or containers.
- Optional: Add an Observer Mechanism: You can add an observer mechanism to detect when honey is ready to be harvested. When the honey level in a beehive reaches its maximum of 5, the observer will detect the change and activate the pistons to collect the honey.
- Introduce Bees: Introduce bees to the beehives by releasing them nearby. Bees will pollinate flowers and produce honey over time.
- Activate the Redstone Clock: Activate the redstone clock to start the automatic harvesting process. The clock will trigger the pistons at regular intervals, allowing the honey to be collected.
Remember to maintain a sufficient number of flowers nearby to keep the bees happy and productive.
Note: Minecraft mechanics and redstone devices can vary across different versions of the game. It’s recommended to adapt these instructions to your specific Minecraft version and explore additional tutorials or videos to get a better understanding of the process.
Also Read About Minecarft Warden Portal